Qiita の「Electronの始め方 on Mac」(@basicactorさん投稿)という記事をもとに、とりあえず動くものを作ってみよう。
まず、テストアプリ用のソースとかを格納するディレクトリを掘る。
それから、Node.js のプロジェクトとして npm で初期化を行う。
$ pwd/Users/shinoda$ mkdir electron_proj$ mkdir electron_proj/testapp1$ cd electron_proj/testapp1$ npm initThis utility will walk you through creating a package.json file.It only covers the most common items, and tries to guess sensible defaults.See `npm help json` for definitive documentation on these fieldsand exactly what they do.Use `npm install <pkg>` afterwards to install a package andsave it as a dependency in the package.json file.Press ^C at any time to quit.package name: (testapp1)version: (1.0.0)description: Test Program YO!!entry point: (index.js)test command:git repository:keywords: sample testauthor: shinodalicense: (ISC)About to write to /Users/shinoda/electron_proj/testapp1/package.json:{"name": "testapp1","version": "1.0.0","description": "Test Program YO!!","main": "index.js","scripts": {"test": "echo \"Error: no test specified\" && exit 1"},"keywords": ["sample","test"],"author": "shinoda","license": "ISC"}Is this OK? (yes) <リターンキー>
これで、ここで作られるプログラムを Node.js のパッケージとして管理するための情報が package.json という名前の JSON形式のファイルとして作成される。
直下にできてるね。
$ ls -latotal 8drwxr-xr-x 3 shinoda staff 96 12 28 13:01 .drwxr-xr-x 3 shinoda staff 96 12 28 11:55 ..-rw-r--r-- 1 shinoda staff 274 12 28 13:01 package.json$ cat package.json{"name": "testapp1","version": "1.0.0","description": "Test Program YO!!","main": "index.js","scripts": {"test": "echo \"Error: no test specified\" && exit 1"},"keywords": ["sample","test"],"author": "shinoda","license": "ISC"}
次に、プログラム本体(といっても、JavaScript と HTML)を作成する。
まず、index.js というファイルに JavaScript を記述する。
(件のページの main.js をパチってます)
// 定数const electron = require('electron')const app = electron.appconst BrowserWindow = electron.BrowserWindowconst path = require('path')const url = require('url')function createWindow () {// ブラウザウィンドウ(400x300pix)win = new BrowserWindow({width: 400, height: 300})// index.html をロードして表示win.loadURL(url.format({pathname: path.join(__dirname, 'index.html'),protocol: 'file:',slashes: true}))}app.on('ready', createWindow)
次に index.html。これは Hello, World と表示させるだけの HTML なので簡単。
<!DOCTYPE html><html><head><meta charset="UTF-8"><title>Test Project 1</title></head><body><h1>Hello, World!</h1>node <script>document.write(process.versions.node)</script> Chrome <script>document.write(process.versions.chrome)</script> Electron <script>document.write(process.versions.electron)</script></body></html>
これらをプロジェクトのディレクトリに作成する、。
$ ls -latotal 24drwxr-xr-x 5 shinoda staff 160 12 28 14:34 .drwxr-xr-x 3 shinoda staff 96 12 28 11:55 ..-rw-r--r-- 1 shinoda staff 399 12 28 14:34 index.html-rw-r--r-- 1 shinoda staff 502 12 28 14:33 index.js-rw-r--r-- 1 shinoda staff 274 12 28 13:01 package.json
では実行してみる。
$ electron .
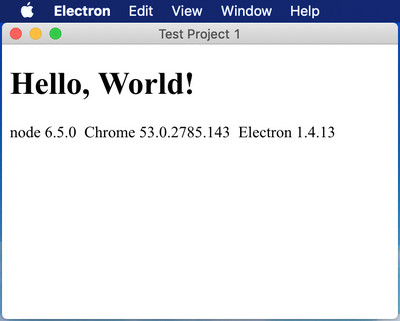
表示された。
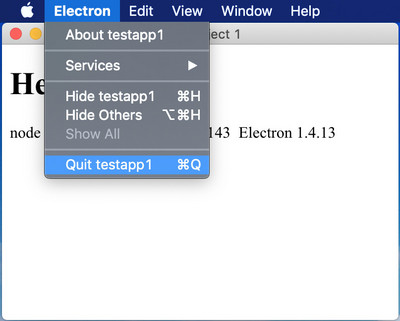
終わるときは、「Electron」メニューから「Quit testapp1」を選んで。
あとは、Node.js で動く(Node.js 用に拡張された) JavaScript をゴリゴリ書けば、本格的なアプリも組めるということやね。

コメントする